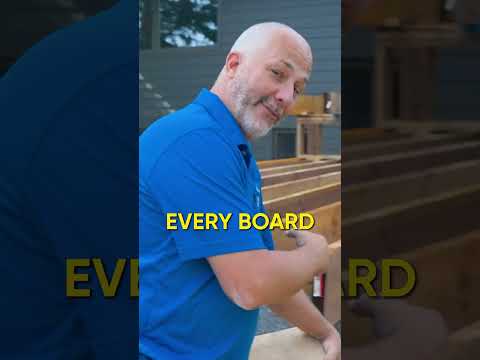
How to Straighten Bowed Joists
Bowed or warped deck joists can make it almost impossible to get a straight, flat deck surface. In this video, I’ll show you how I straighten bowed deck joists and add blocking before installing the decking.
When deck framing is left exposed to the sun, the lumber can dry out, twist, bow, and move. Before I try to force a badly bowed joist back into position, I like to add some moisture to the wood so the dry fibers are a little easier to work with and there’s less risk of splitting the lumber.
From there, I use blocking between the joists to help pull the framing back into alignment and keep everything square. If your deck joists are 16 inches on center, your blocking will typically be about 14.5 inches long. For 12-inch-on-center framing, it will typically be about 10.5 inches.
Blocking also helps transfer load between joists and reduce movement in the deck framing. Just make sure the blocking is installed low enough that it doesn’t interfere with the deck boards or create a high spot in your finished decking.
If you’re building a deck and dealing with bowed deck joists, warped pressure-treated lumber, or uneven deck framing, fixing it now will make installing your deck boards much easier and help you get a cleaner finished deck.
#DeckBuilding #DeckFraming #DeckJoists #DIYDeck #HomeImprovement #HomeRenoVisionDIY
If you found this video useful and entertaining please subscribe to our channel 💪
FOLLOW US ON SOCIAL MEDIA
INSTAGRAM👉🏼 https://www.instagram.com/homerenovisiondiy/
FACEBOOK👉🏼 https://www.facebook.com/homerenovisiondiy/
TIKTOK👉🏼 https://www.tiktok.com/@homerenovisiondiy
Disclaimer:
Videos produced by Home RenoVision DIY are provided for informational and entertainment purposes only. All material provided within this website is for informational, educational, & entertainment purposes only. Some of these projects, materials, and techniques may not be appropriate for all ages or skill levels. The DIY instructions used here are used to simply breakdown projects to their simplest steps. Please use a clear mind and use all safety precautions while following the tutorials provided by this site. Home RenoVision DIY does not make any claims of the safety of the projects, techniques, or resources listed on this site and will not take responsibility of what you do with the information provided by this site. Viewers must be aware by doing projects on their homes they are doing it at their own risk and HRV cannot be held liable if they cause any damage to their homes. With different codes around the world and constantly changing standards, regulations and rules, it is the sole responsibility of the viewer to educate themselves on their local requirements before undertaking any sort of project. That being said Home RenoVision DIY cannot claim liability with all applicable laws, rules, codes and regulations for a project. Be safe, have fun renovating and ALWAYS stay informed with your local building code.
HomeRenoVision DIY may earn an affiliate commission if you purchase something through recommended links. #commissionsearned